
Bringing a Little Vintage Inspiration
to Cake-Pops
 |
| Vintage Christmas Card
I was recently working on a
very special birthday request for a lovely woman ready to celebrate her 70th
year
of life. When her daughter asked me to come up with a special custom cake-pop,
I was struck by how many things her mother had been around to see in her 70
years. I could scarcely wrap my head around it at first, but I knew that I had
to make these cake-pops really special.
|
I wanted to create a cake-pop
that gave the impression of being old, something one could find in a thrifty
vintage shop. I also wanted to work in the fact that we are just 28
days away from Christmas, so I
decided to put together a Vintage inspired Christmas cake-pop tutorial whilst I also worked on the birthday cake-pops.

It always begins with a very basic cake pop mixture of your choosing. For these I used a vanilla buttercream cake as I would be coating them in an ivory coloured candy coating. The only difference with these is that you don't need to scoop any cake and roll balls, instead you will be rolling out the dough onto a flat surface. I always roll my dough out on top of wax paper to keep things a little cleaner and to prevent the dough from sticking. It's always a good idea to work with chilled dough.

.jpg)
You want the dough to be at least 1/4 of an inch thick as you need to be able to have enough dough to insert the lolly stick. Once the dough has been rolled, grab your oval shaped fondant/cookie cutter to begin pressing out your cake. I used the middle oval as the size is perfect. It's roughly a little bigger than an inch. You may have to repeat this part several times to use up as much of your dough as possible. Place your cut out ovals on a wax paper covered tray or cookie sheet and place the sheet into the freezer for 10-15 minutes. This is done in order to be able to insert the stick.

While the dough is in the freezer tidy up the mess and begin putting together everything you will need to decorate and coat your cake-pop with. I use a white chocolate wafer that isn't a bright white and can be found in bulk in many local grocery stores. This will create a very nice ivory shade coating for your cake-pops. Pour the wafers into a microwavable container, or melt your chocolate in whatever manner is suitable for you. Once your chocolate has melted and has a smooth consistency, it's time to insert the lolly sticks and allow them to set.
You will also need some White Nonpareils and any type of sugar candy decorations that can be found at any of your local baking supply stores. Having this all out and organized will not only save you time, but will ensure you get them on before the coating hardens.
I inserted the lolly sticks into the frozen cake from the bottom as you can see from the photo above. Dip the stick into the melted chocolate about a 1/2 of an inch, then insert into your dough securely , then lay them flat back onto the tray. Allow at least a minute to set and continue to place sticks in all of your cut out ovals. Be sure to push the stick in far enough or you could lose your cake in the candy coating when you dip it, and that would be awful!!

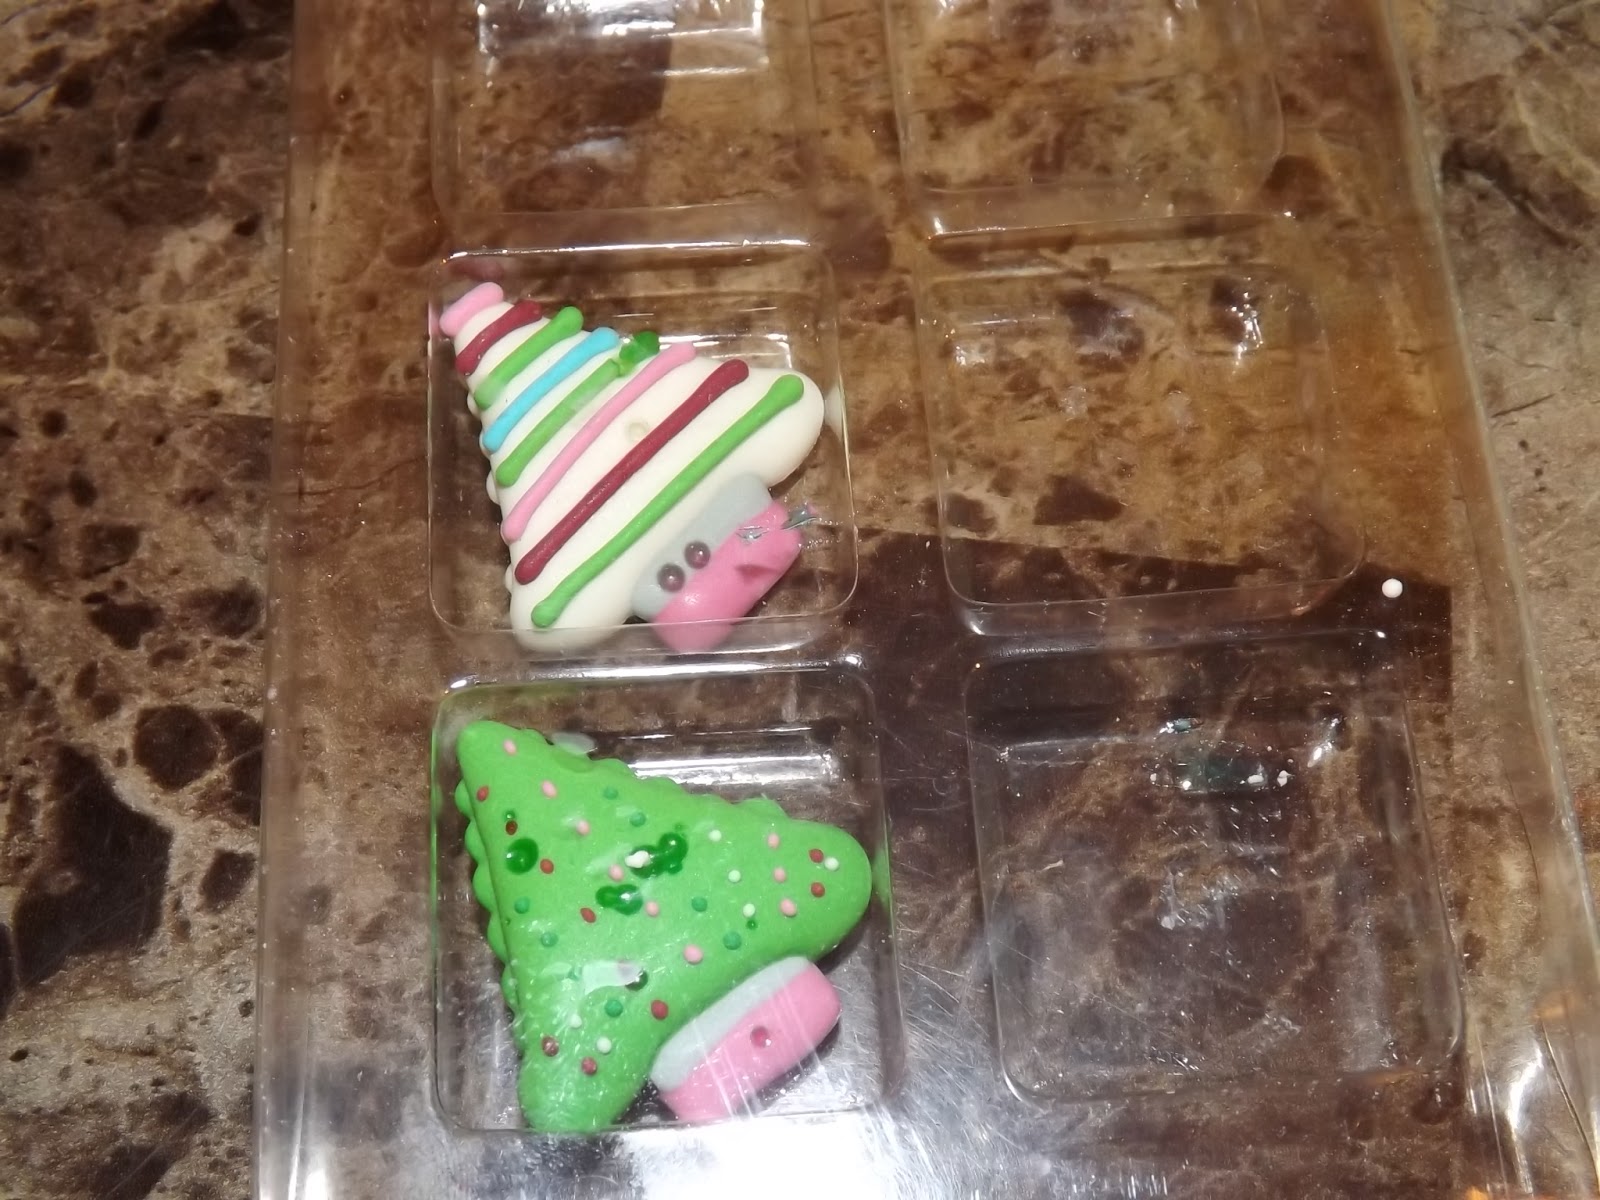
Once the Stick has set, you can them begin dipping your pop into the white chocolate. Be sure to have your sugar candy decorations and your white nonpareils ready to go. I pour a little into a bowl and for this I just used my fingers to sprinkle the nonpareils onto the back and sides of the oval shaped cake-pop. You want the sprinkles to land softly around the front as well, just not in the center, as this is where you will affix the sugar candy Christmas decorations before the coating dries.

Once you have tapped off the excess chocolate it's a good idea ti have the bowl of nonpareils close by as you want the candy to stick. Sprinkle the little beads quickly moving the cake-pop from side to side. Once you are happy with it, turn it over and place your Christmas Candy decoration in the center of the front.

You can add some more little nonpareils to the front to create the illusion of a snowfall. Your vintage inspired cake-pop is lovely and ready for that special someone this Christmas. Set the cake-pop on a foam stand and allow at least an hour to dry before packaging. Add some pretty Christmas ribbon and place them into a pretty container to display them.

I hope this tutorial has inspired you to make some Shabby Chic, Vintage Christmas cake- pops. Wishing you all a very Merry Christmas and all the best in the New Year! Be sure to keep posted to the Cake-Pop Passionista's Blog for more bite sized cake couture....
 |
| Vintage Christmas Card |
No comments:
Post a Comment